"Sir, Do You Know How Slow
You Were Driving?"
Page 5
`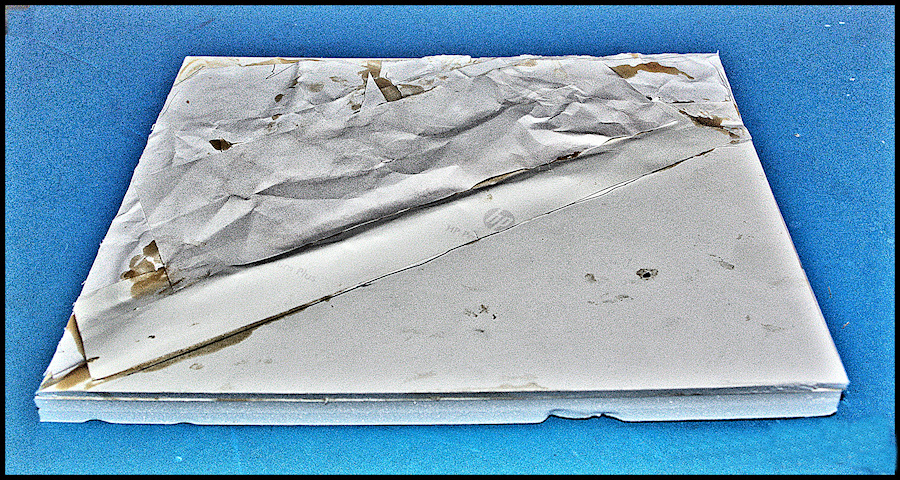
It was one thing to have the
model done, but now I needed to create a base for my vignette, which
wound up being an 8" x 10" piece of 1/2" thick foam core board.
One corner of the board would eventually be covered with a more or
less triangular piece of 600 grit black sandpaper as a basic
representation of a hot topped Texas state highway. I also
used a mix of thin foam core pieces, along with crumpled...and then
more or less straightened...pieces copy paper to create an uneven
terrain contour over the rest of the base.
Everything was glued down
with Elmer's Carpenter's Wood Glue, weighted and left to dry.
It took several attempts of the "a little here, a little there"
variety to get the basic appearance I was looking for.
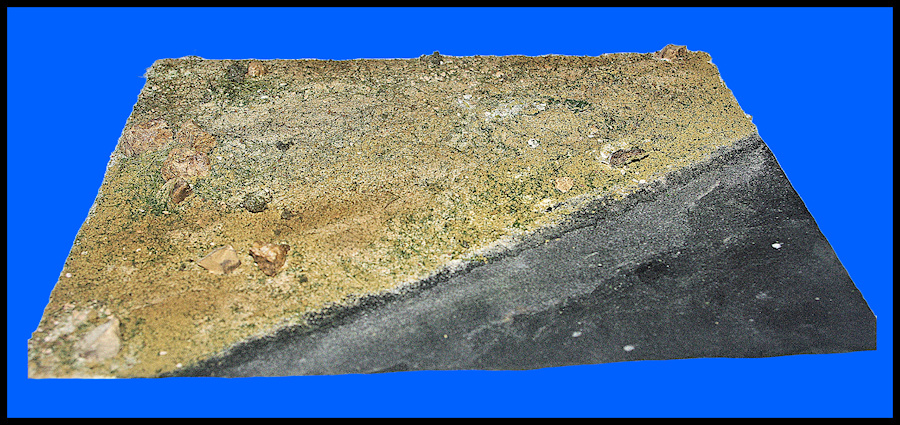
The dried terrain base was
then...except for the road surface...sprayed with Woodland Scenics
Scenic Cement. Then Chinchilla Dust...that's right, the stuff
pet Chinchillas use to take a dust bath...was sifted on to create
the basic ground work. You can find Chinchilla Dust at full
service pet stores such as Pet Smart.
After covering the road
section...the 600 grir sandpaper had finally been added...with a
piece of cardstock, the Chinchilla Dust was mist coated with Scenic
Cement using a pump sprayer to minimize disturbing any loose Dust.
Once that was dry, I sprayed more Scenic Cement and sprinkled on
various amounts of Woodland Scenics Fine Turf, etc.
There are no rules here, just
try different things until it looks the the way you want it to.
After the last application of Scenic Cement had dried, I stood back
a ways and shot everything but the road surface with Model Master
Dullcote from a rattlecan. The object is to end up with a
solid surface that looks like the roadside terrain in the Texas
Panhandle before it was plowed for cotton farming.
As they say, beauty is in the
eye of the beholder, and that Texas terrain just didn't look right.
It needed something, but what? Rocks! That's what...at
least some small ones. It also didn't hurt that I needed
something for the Trooper to put his foot on while talking to the
farmer. For this part of the vignette, I didn't need Woodland
Scenics or any other manufacturer's product. The front yard
produced several small stones that could be broken up with a few
whacks from a pair of heavy pliers.
The resulting little rocks of
my choosing were placed in appropriate positions, held down with BSI
IC-Gel CA and I could call the groundwork done. Almost.
Since the base a slab
of foam core with raw edges, my vignette needed a frame to tie
everything together. My wife, Nelda, donated an unwanted
framed picture that I could use...once the picture, glass and mat
were removed. By flipping the frame over, I had an 8" x 10"
recess the base would drop into and a 8 1/2" x 11" wood frame with a
smooth outer edge that a future dust cover could be screwed to.
BSI Five Minute Epoxy was spread along the recess, then the base
dropped into place and allowed to dry. Since some of the raw
foam core edges still showed, they were covered on three sides with
.020" styrene strips painted True North Flat Black.

The front long edge received
a white letter on black background strip displaying the title of
this project. That title was created with Corel PaintShop Pro
2018...you can't get away from computers these days...and sized to
10.05" x .63".
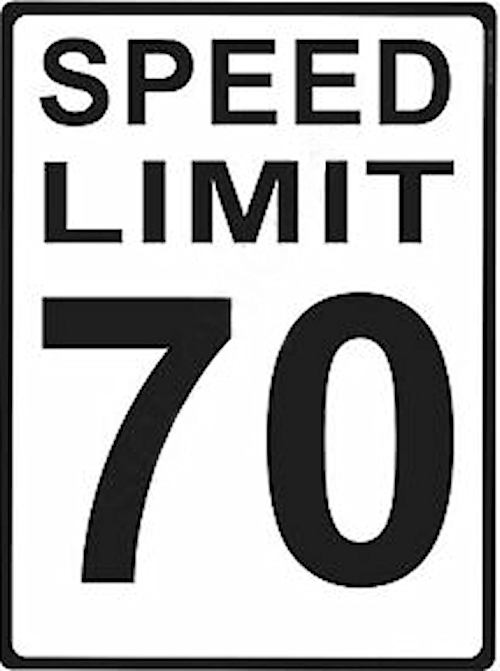
At
the same time, I resized an image that I found on the internet of a
Texas speed limit sign to 1" x 1.25"". Both the title and
speed sign were printed on 80-lb glossy white photo paper, cut out
and glued...using BSI IC-Gel CA...to the correct size .020" styrene.
The title strip was mounted
at an approximate 45 degree angle for ease of reading. A 5
1/2" length of 1/8" diameter aluminum tubing was mounted to the back
of the speed sign using BSI IC-Gel CA, the top of the tubing being
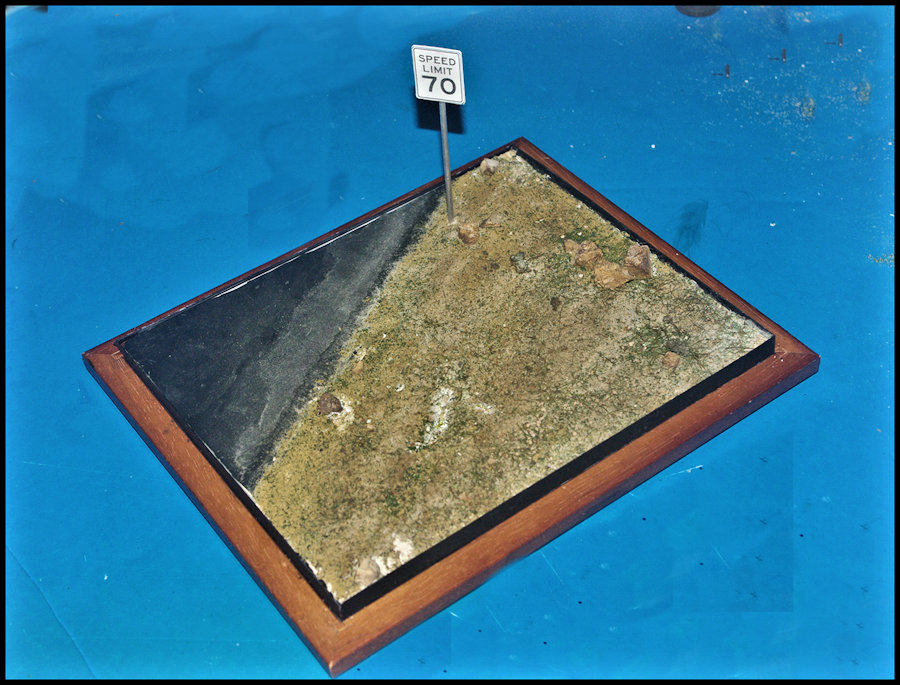
1/8" down from the top. A Hole was drilled just off the side
of the road and the sign installed so that the bottom edge of the
sign is 3 1/2" above the road pavement.
Since you would be looking at
the back of the speed sign when viewed from the front, I decided to
duplicate the title on the opposite long side. With that it
was on to the final details.
Due to the delicacy of the
tractor...especially the front axle...I mounted the tractor to the
base by simply adding a dab of BSI IC Gel CA to the bottom of each
tire and carefully sitting the rig in the desired position.
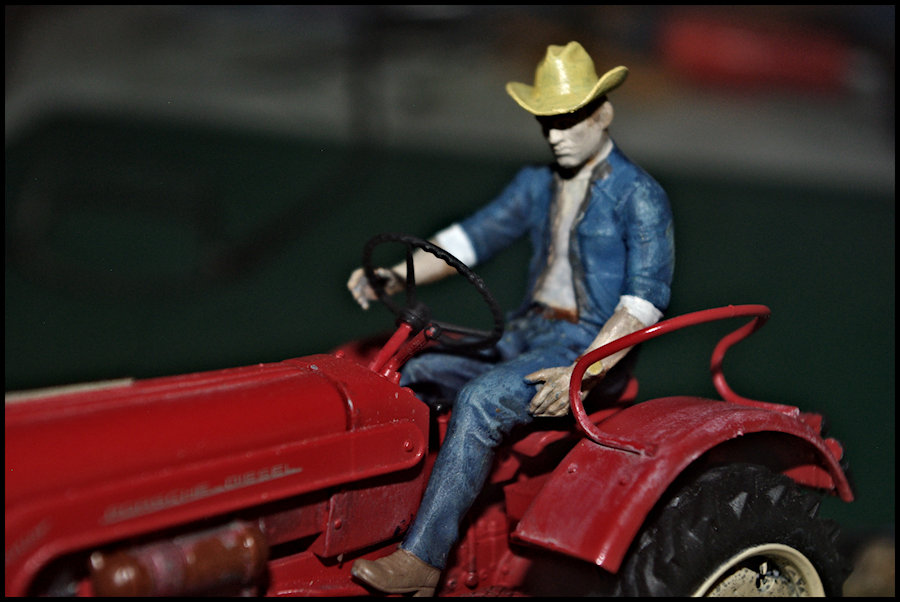
The farmer was permanently
seated after the IC-Gel had dried. All that remained was the
Trooper.


A .022" hole was drilled in
the bottom of the Trooper's left leg, then a short piece of .o16"
music wire was inserted in the hole. Another .022"or slightly
larger hole was drilled in the base and the Trooper was
installed, again using IC-Gel CA, making sure that he was
positioned so that his right foot was on top of a small rock.
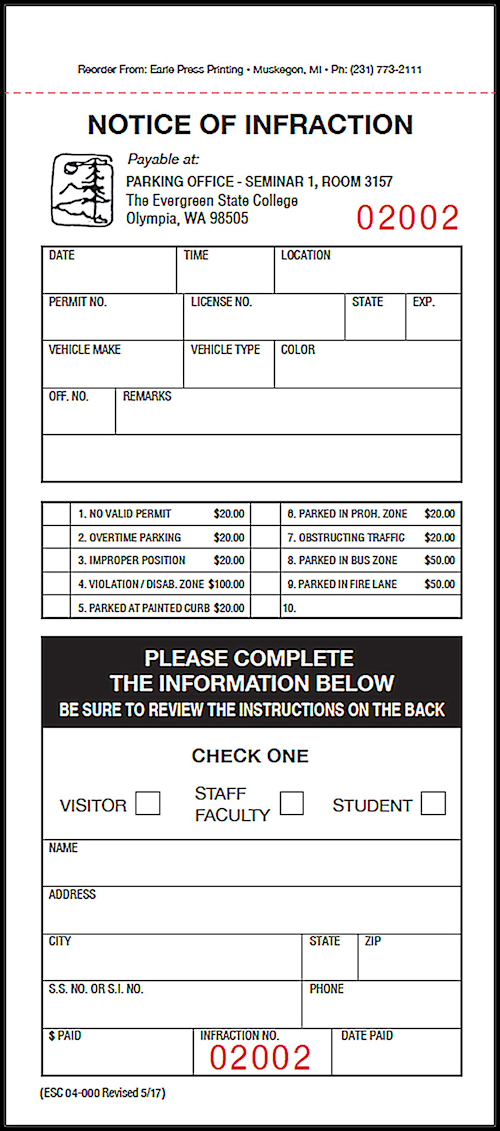
Since you can't issue a
ticket without a ticket book, I found an image of a ticket book on
the internet, reduced it to 1/24 scale(.15" x .35"), printed several
adjacent copies on ordinary white printer paper, folded the
resulting strip to create a multipage book and positioned the
result in the Trooper's hand.
|