"Sir, Do You Know How Slow
You Were Driving?"
Page 2

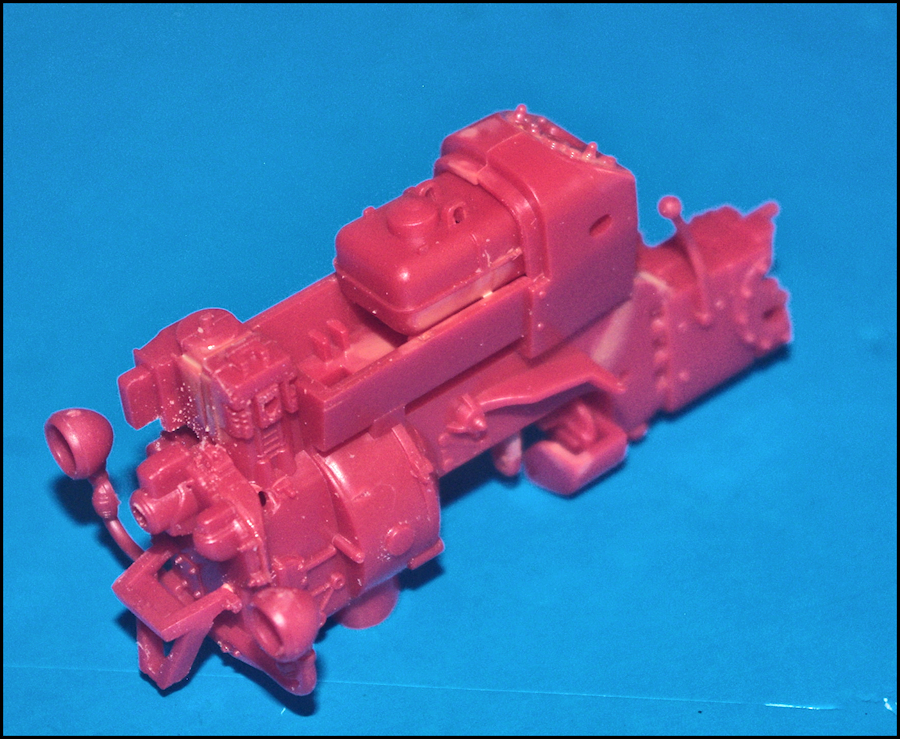
The first six steps have
been completed here, with the basic left side as it will be seen
from the drivers seat, looking like this. Note that the
exhaust, valves, valve cover, air cleaner, battery and headlight
lenses have yet to be added.

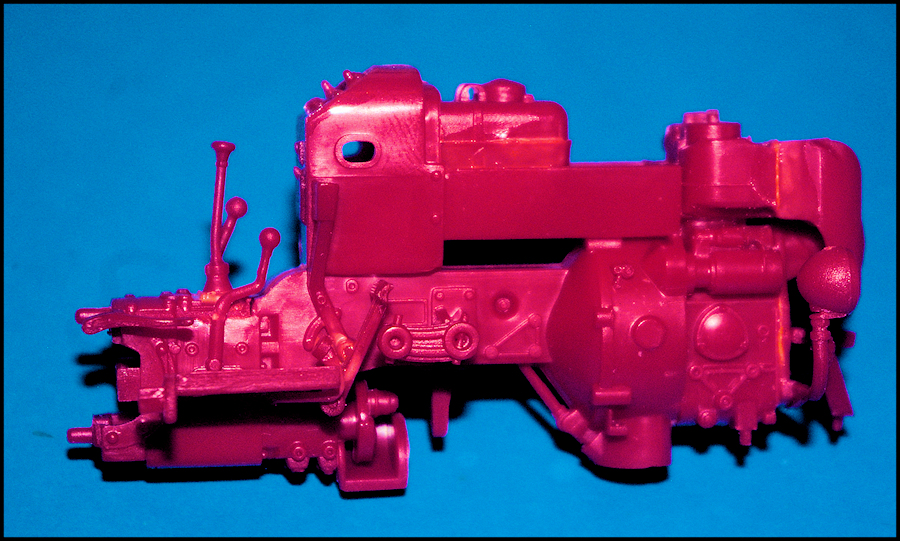
This is the right side.
After I finally started snapping parts together to create the basic
body/engine, the first six steps went so quickly that I was almost
done before I started.

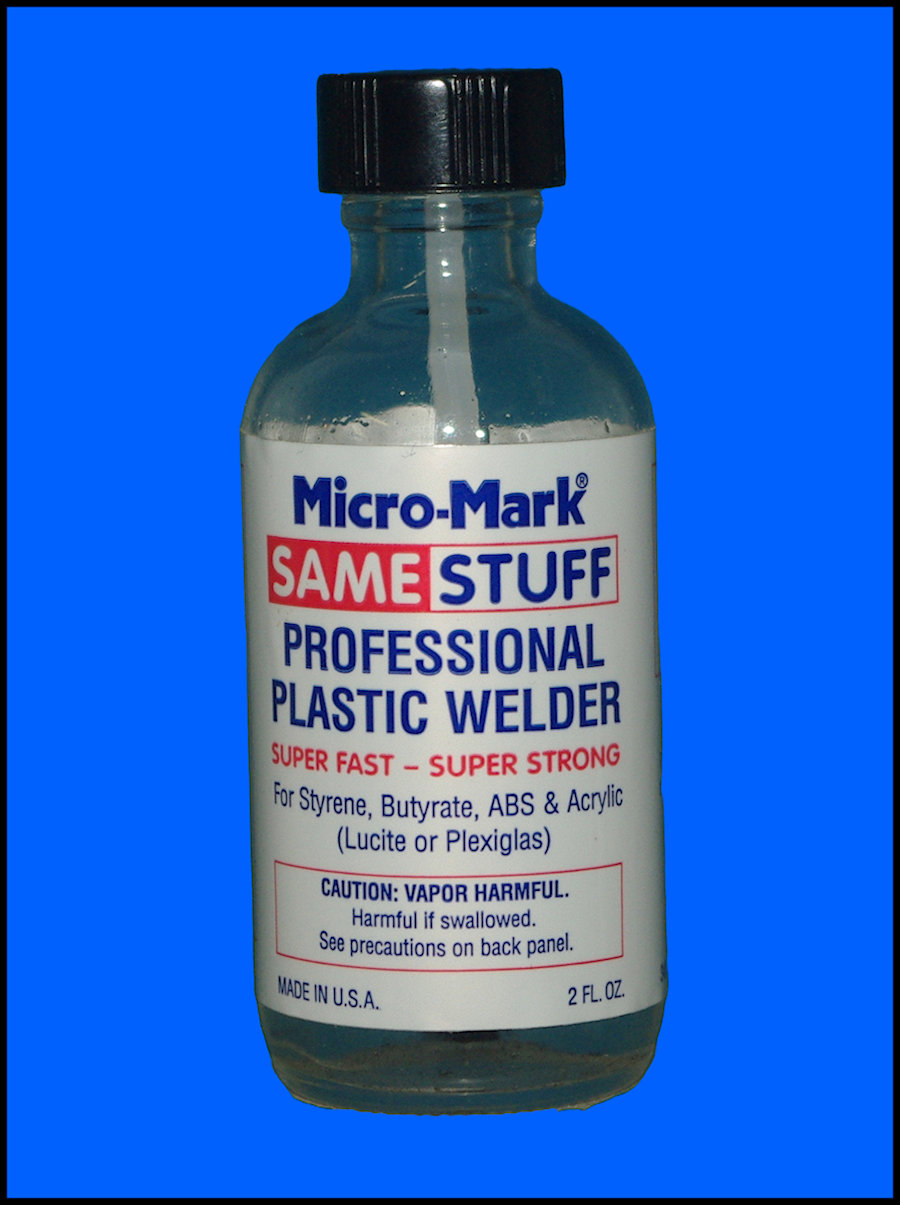
Or I would've been if I
hadn't slowed down long enough to use MicroMark Same Stuff
solvent...also referred to as liquid welder or liquid
cement/glue...on the seams/joints.

After cleaning up any
seams that would remain visible on the finished model, I moved over
to steps 10 & 11 to install the pedals, foot rests and side pump.
Then I bounced back and forth dealing with optional parts and
figuring out easier ways to do things.

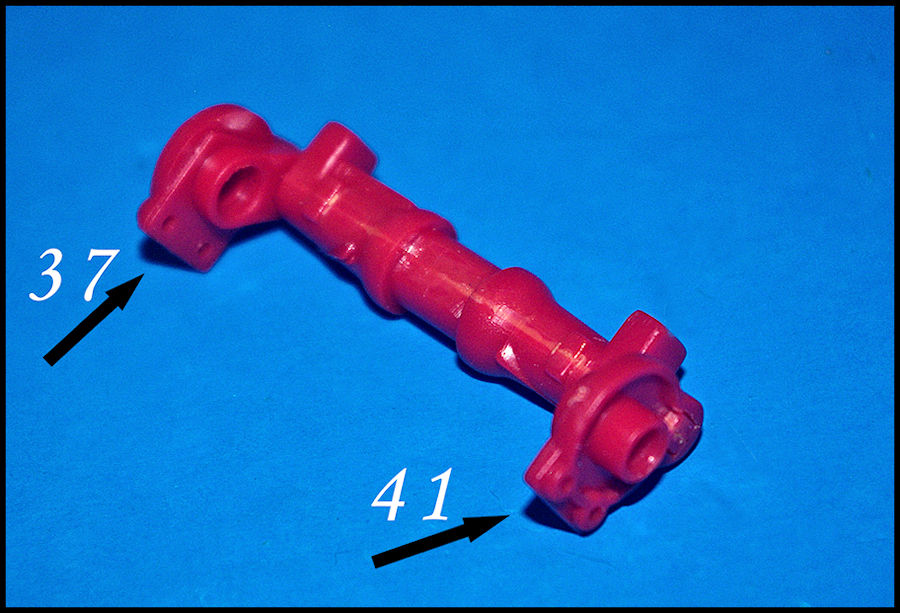
For
example, the rear axle halves were joined and mated to parts 41 &
37. With that done, the completed rear axle assembly...but not the
wheels/tires...was added to the body. This approach lets you add
the wheels/tires at the end, after everything is painted. Be
aware that parts 41 & 37 are handed, so be careful how you install
them.
Incidentally, the front
axle/suspension can be done somewhat the same way, leaving
installation of the front wheels/tires until the last. Use a
light hand though, because the front axle assembly is a lot more
delicate than the rear. Finally, you'll find that the
rear fenders can be slipped in place temporarily, which really helps
when it comes to painting.
Page
Navigation: 1, 2,
3,
4, 5,
6
|