"Sir, Do You Know How Slow
You Were Driving?"
Page 4
`
With everything painted, all
remaining parts can be added and there weren't many, primarily
steering wheel, control levers, that sort of thing and you're ready
for decals.

Keep in mind that the
decals are for a tractor designed and built in Germany and mine's in
Texas. As a result, you won't need all of'em. Basically I used the
Porsche and Junior names on the sides of the hood and the silver
version instead of the yellow. This photo gives you a clearer
version of the nameplates which are extremely small. Yes, they
are silver in color though they look white in the photo above.
I also used
a couple of placards on the
engine, along with the Porsche name on the back of the seat and that
was it. The license plate decals weren't used either. I planned on
making my own for the vignette in order to have it legally licensed
in Texas.
]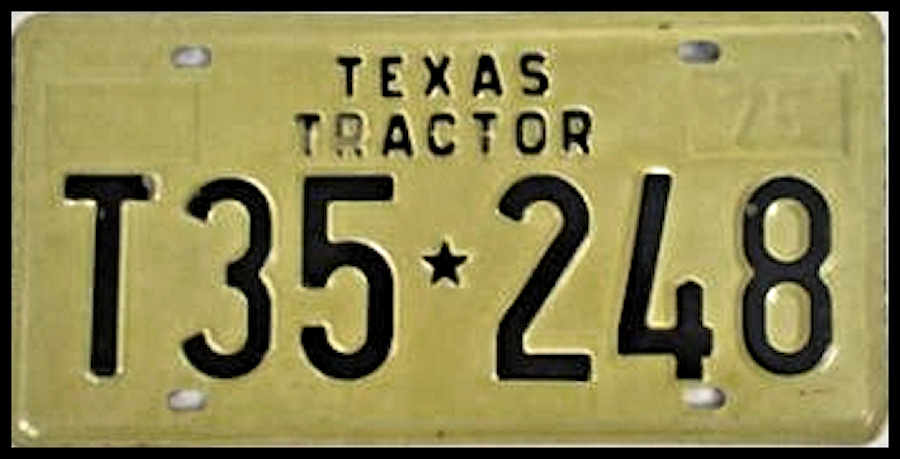
I found an image of a Texas
license plate, then scanned
it to create a custom decal.
With the license plate in place, we're down to where the fun really
begins...weathering and the creation of the vignette.
Weathering is a subjective
art and how much any vehicle is weathered depends on factors ranging
how new they are to how hard they've been worked and everything in
between. Most equipment like the Porsche Junior are pretty
well kept, so I limited the weathering on this model to a few oil
and fluid stains, along with some drybrushed grime, a little black
wash on the wheels and bottom of the body and drybrushed steel on
worn edges.
Pretty subtle, really, and
not easy to see in the photos, but appropriate for the scene I
had planned.
In order to to create the
vignette I had n mind, I needed two things...a seated tractor driver
and a standing Texas State Trooper.
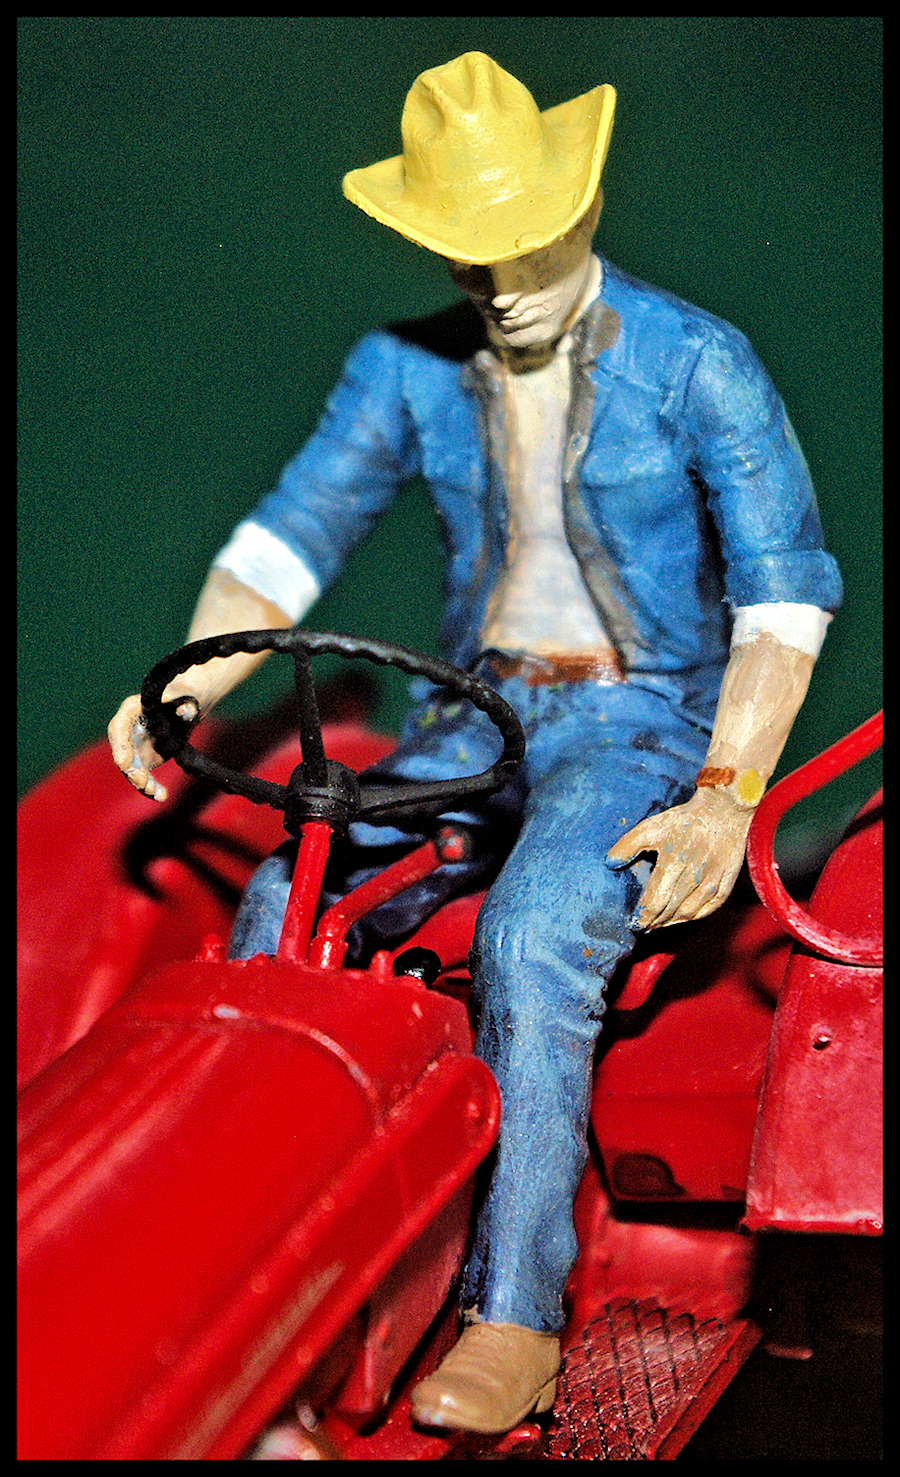
A fairly quick search on
Amazon with the search string '1/24 scale figures' got me what I
needed. The tractor figure was actually a Truck Driver from
Master Box...MB24044... that was nearly a perfect fit out of the box
and was an injected styrene kit.
None of the figure kits has
instructions...aside from basic assembly...which isn't particularly
surprising. The driver does go together rather quickly, though
i did leave the hat off for the moment to make painting the face
easier. Being a Texas scene, jeans, an off white shirt and a
jean jacket were a natural choice, along with a straw Stetson-style
hat instead of the optional gimme cap.
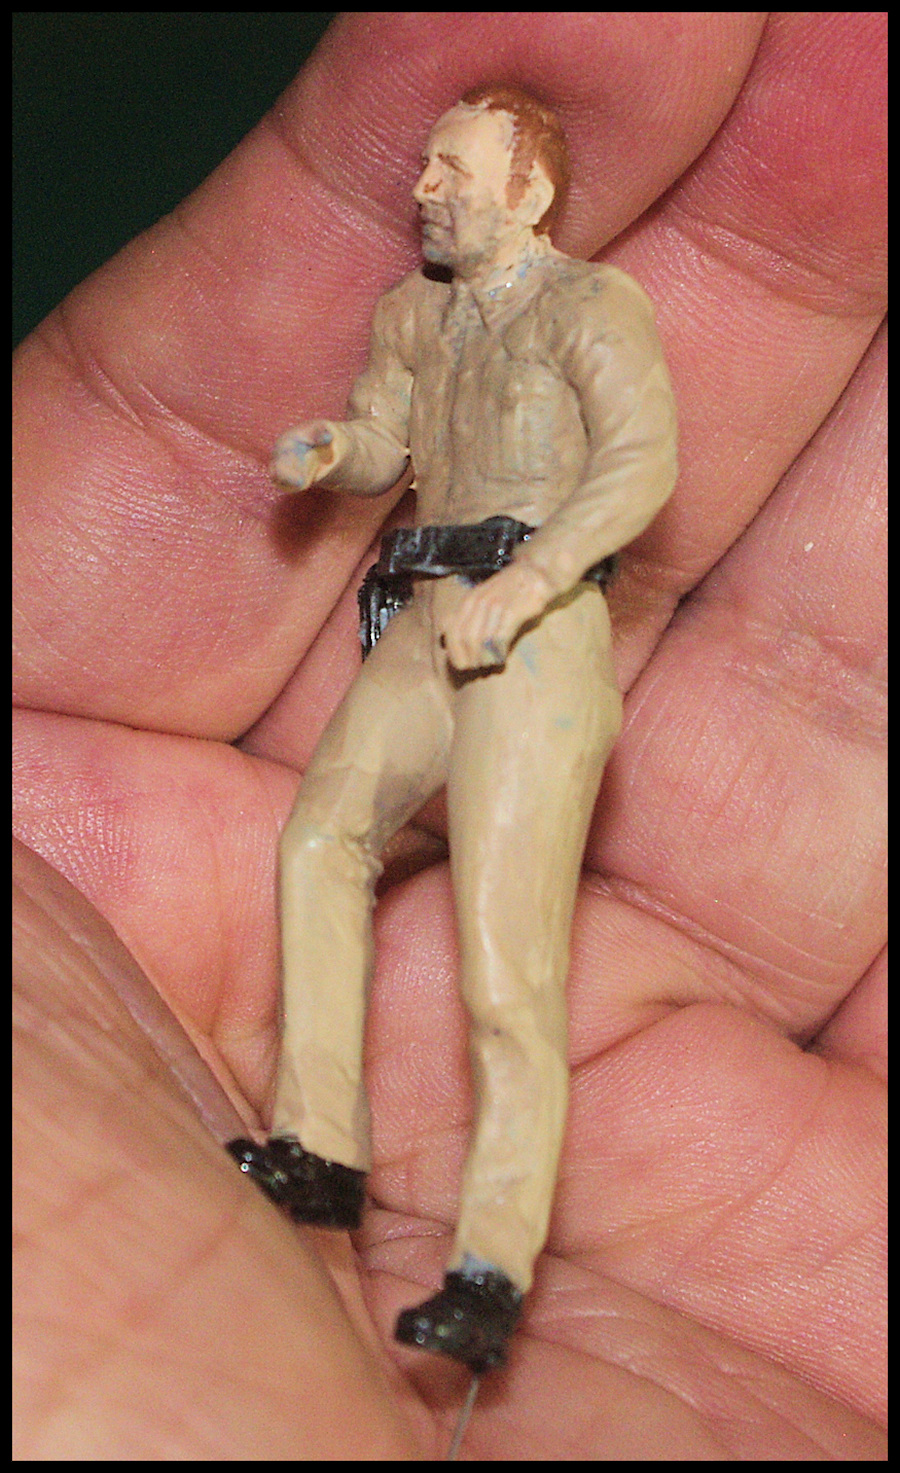
The Texas State Trooper?
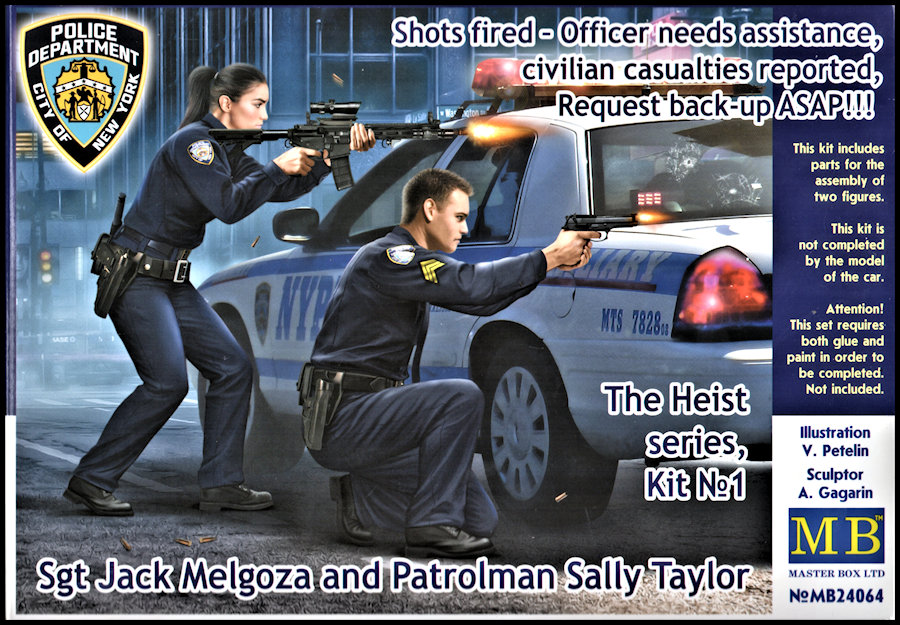
I couldn't find a standing Trooper in the correct scale, soI wound
up doing a lashup combining parts from two Master Box sets...MB24027
and MB24064...along with a little reanimation as needed.
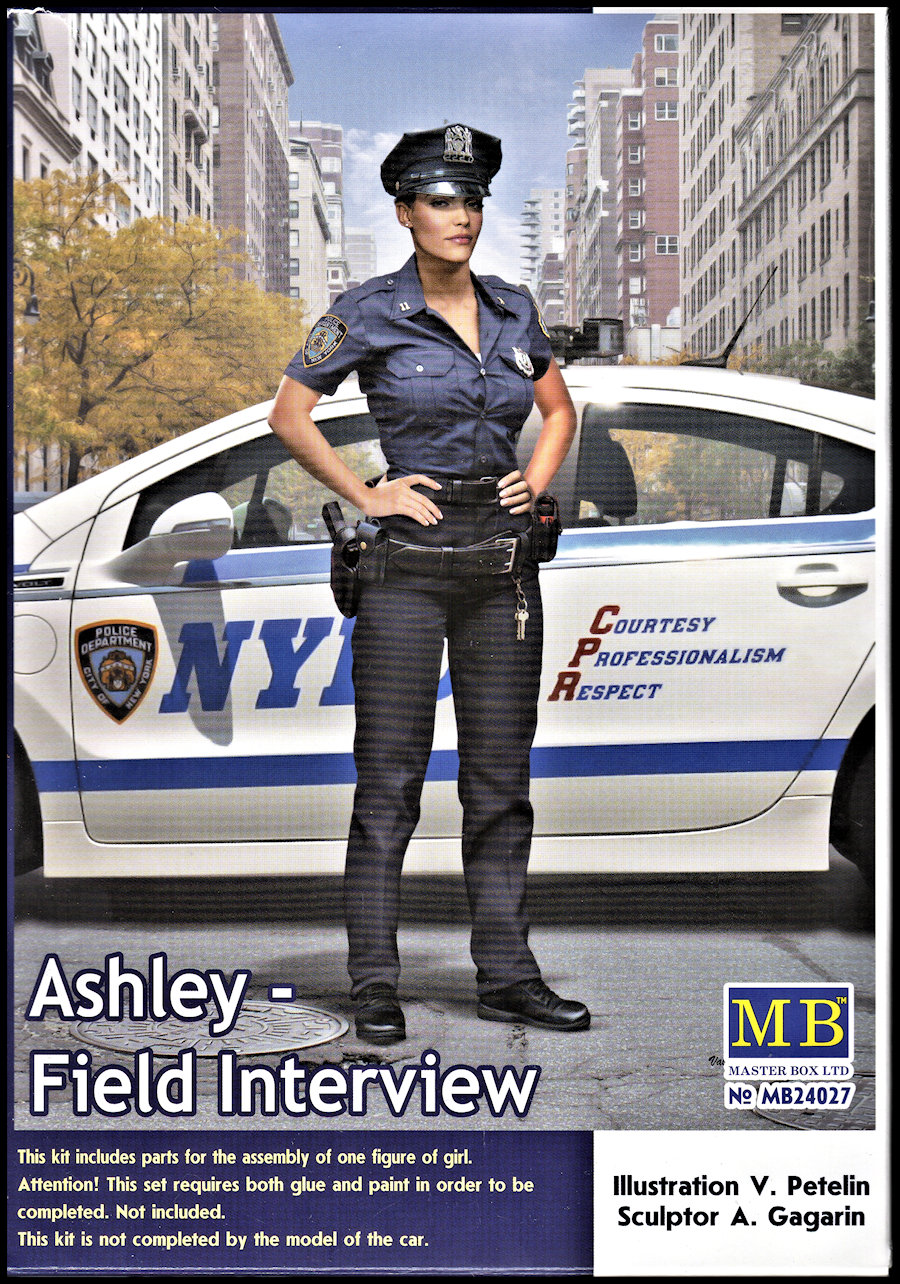
Regarding the Trooper, I built
up the body first sans arms and added putty where needed. After
the putty had been contoured and allowed to dry, arms came next,
along with the head. After everything was good 'n dry, a shot of
primer had the figure ready to paint.
When it comes to painting the Trooper,
standard uniform would be Texas tan for the clothes and black shoes
or boots. Normally the Trooper would be wearing a Stetson, but
he was in such a hurry to ticket the farmer for slow driving
that he left his stetson in his cruiser.
If you decide to go with with
a police officer instead of a Trooper, there are many, many uniform
variations, though the majority of police uniforms in my part of
Texas tend to be a dark blue or black color.
Once your figure is painted,
the gun belt, holster and other accessories need to be added.
Those are almost exclusively black leather, So True North
Satin Black was used for those, as well as as the shoes.
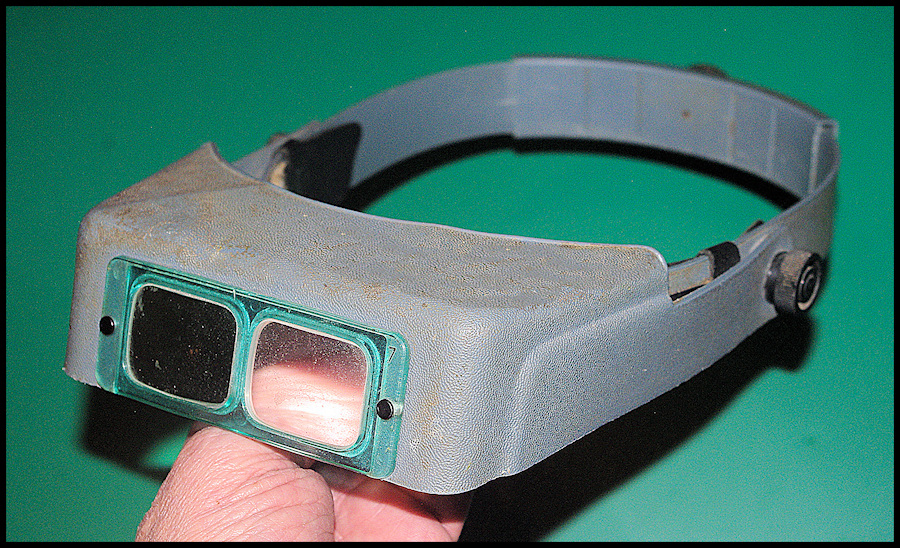
By the way, unless you have
the eyesight of an eagle....and even if you do...I would strongly
advise you to pick up a headband magnifier before working on
figures. Many of them incorporate fine detail that can barely
be seen with the naked eye until you pop that detail out with some
very delicate detail painting. I use a Donegan OptiVisor and
have for decades. The interchangeable optical glass lenses do
a superb job.
Page
Navigation: 1,
2,
3, 4, 5,
6
|