|
Toy Trucker &
Contractor
|
|
Build A 1913 Ford Delivery VanPage 3
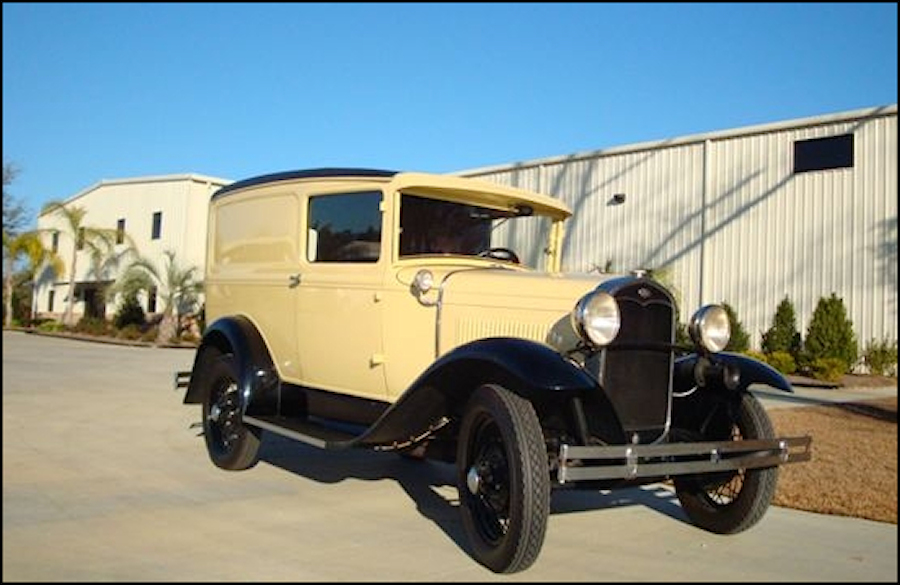
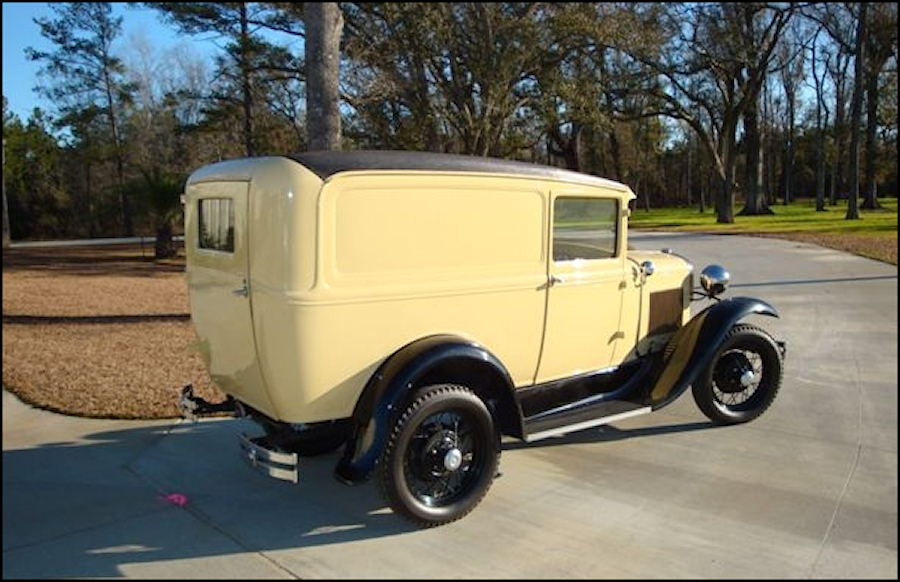
If by now you've gotten the idea that I'm adlibbing this critter from start to finish with the instructions being consulted to see how it should've been built if the kit had been correct in the first place, you'd be right. I added the exhaust system which, amazingly, fit pretty much the way it should and moved on the the next area of excitement. While the chassis was obviously flat black and the upper surface of the fender unit was gloss black, everything else was pretty much open to a combination of common sense and personal preference. This was due to the fact that Henry Ford didn't have a lot of success marketing delivery vans. Instead, he sold the chassis which then was fitted by aftermarket coachwork manufacturers with bodies to a customer's specifications. As a result it wasn't long before you found delivery vans sporting all kinds of body colors, including, but certainly not limited to orange, red, yellow, the almond shown on the kit's boxtop and more.
Since the kit boxtop showed the model with black fenders and an ivory body...and I had a very old can of original Krylon Almond...I figured why not. Beyond that, as you can see in the two photos above, the two tone fenders/body scheme was still fairly common as late as 1931.
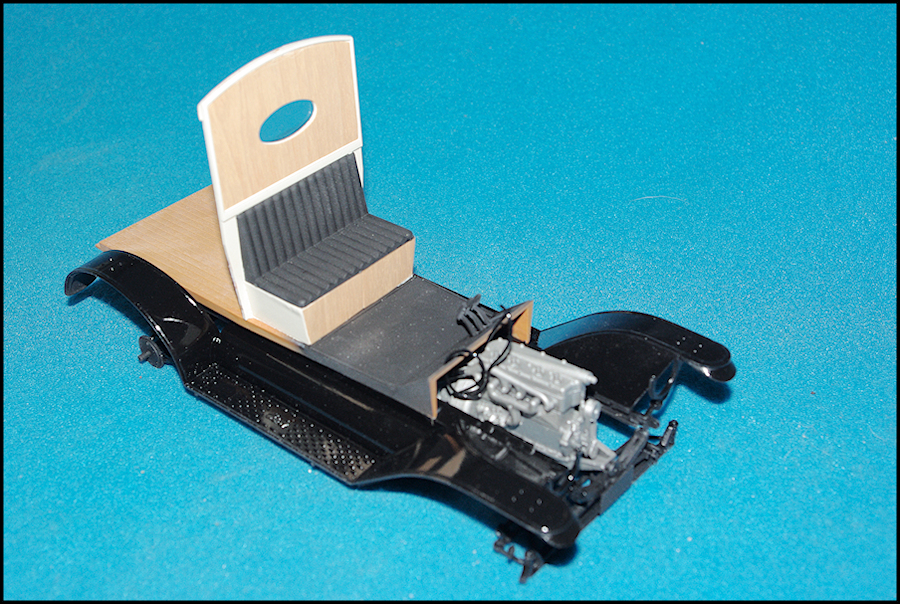
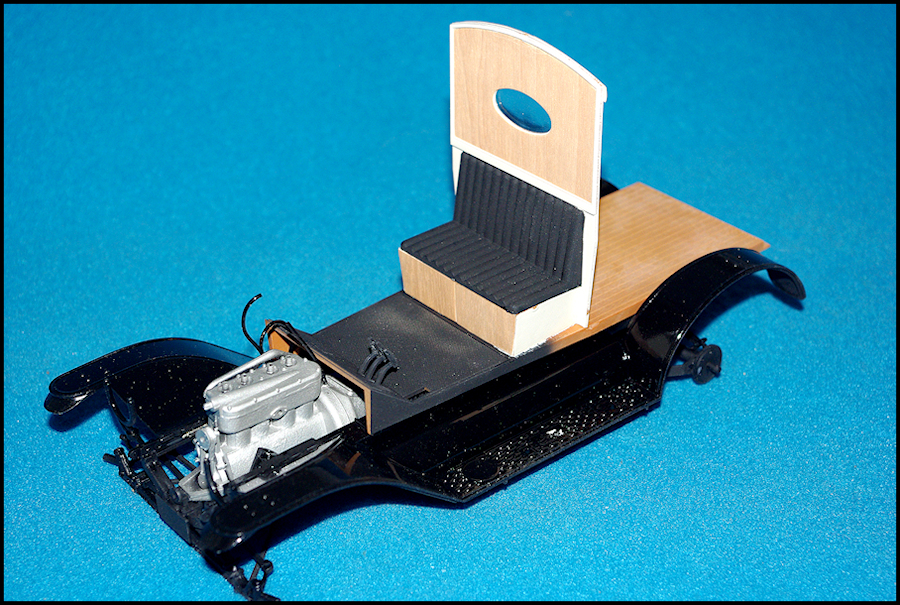
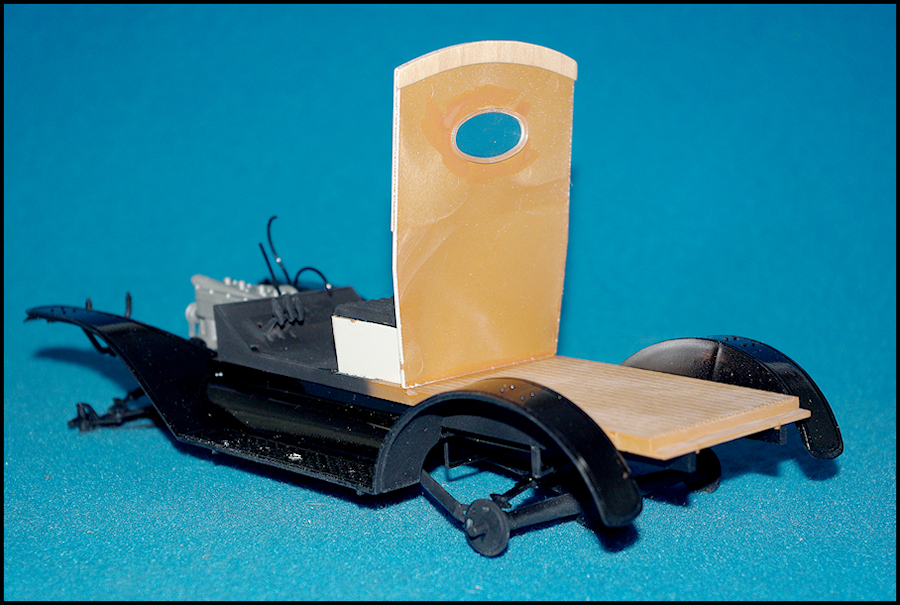
While the Almond paint was drying on the body parts, I installed the floorboard along with the foot pedals and fuel tank. In case you're wondering where the fuel tank is, it's right there in plain sight. The box structure right under the seat cushion.
It turned out that one of the more interesting features of this kit was the inclusion of self-adhesive 'microwood' that helps you create realistic wood areas. No reason why it shouldn't since it is real wood in 1/16th scale. As you can see in the two shots above, I'd already started the application process.
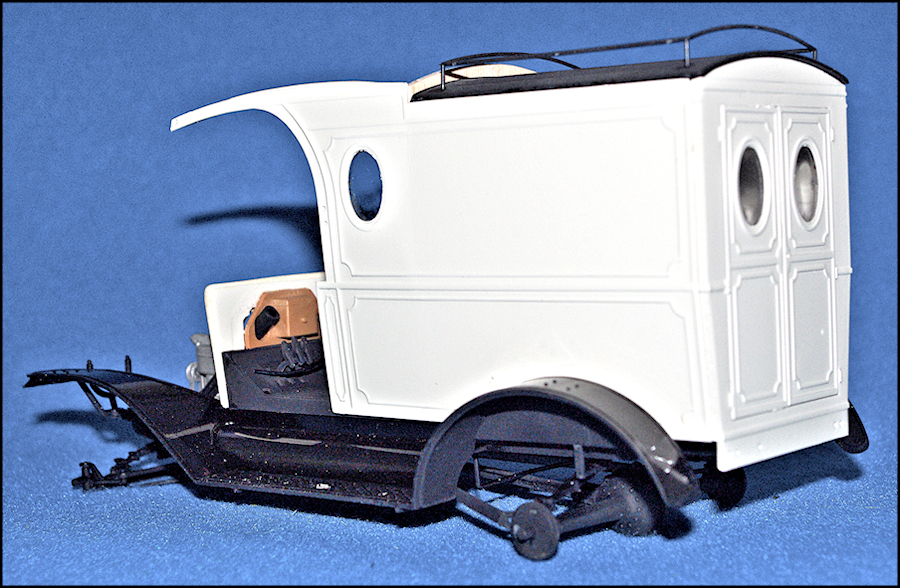
In this 3/4 rear view, once the microwood is installed, the window installs in the back of the bulkhead that forms the front of the van box. Incidentally, when I first got into this project and discovered the microwood, I had my doubts that the wood would actually stick when you consider that the kit was at least 30 years old when I built it and would have another 13 years tacked on if you found one and built it today! Much to my surprise, the microwood worked exactly as it was designed, adhesive and all, except for the narrow strips that were intended for the luggage area of the roof. I simply left those strips off and painted the roof areas Model Master FS37038 Flat Black and moved on.
But before I could deal with the wood strips on the roof, I had to build up the van box. And that's when more trouble arrived. One thing you want to keep in mind when working with vintage auto designs is that most of them are going to be more than a little on the delicate side. When a manufacturer tries to create a kit that mimics the construction sequence of the real car, the thing frequently tries to fall apart in your hands, the end result being that you ain't gonna build it the way the instructions say. So another problem I discovered while preparing the van body parts for assembly was that the rear doors had sloppy hinges that also didn't allow them to open fully. The solution to that was to simply fix the doors in a closed position. I wasn't going to detail the interior of the van box anyway, so there was no point worrying over working hinges. If I haven't scared you off by now, consider that we're not finished with the problems. Not only will you find locating pins and holes that don't match, but also holes but no pins or vice versa. Oh, yeah, Entex makes the brilliant suggestion that you can leave the seat cushion loose because it was removable in real life. It had to be because thee was no outside fuel filler and the gas tank was under the cushion. But leave the cushion loose on the model? There are no locating pins or any other way to keep the cushion in place. So either engineer a way to make the cushion removable or cement it in place. |
|
| Return to home page | |
|
|
|
